Internet users of dodoland community meetup #2
Following the first community meetup organised last week by Internet users of dodoland at the University of Mauritius, where Internet users of dodoland community members introduced GitHub to university students..

Following the first community meetup organised last week by Internet users of dodoland at the University of Mauritius, where Internet users of dodoland community members introduced GitHub to university students and the importance of exposing one's work online through GitHub, a more practical session was organised on this Saturday, 25th of November 2017.
GitHub Workflow
This time, Logan Loganaden Velvindron talked a bit about github workflow and how it can be useful to manage university assignments especially when working in teams. He helped students properly set up their GitHub accounts starting with updating their profile page with relevant information that could help potential employers looking at their GitHub accounts.
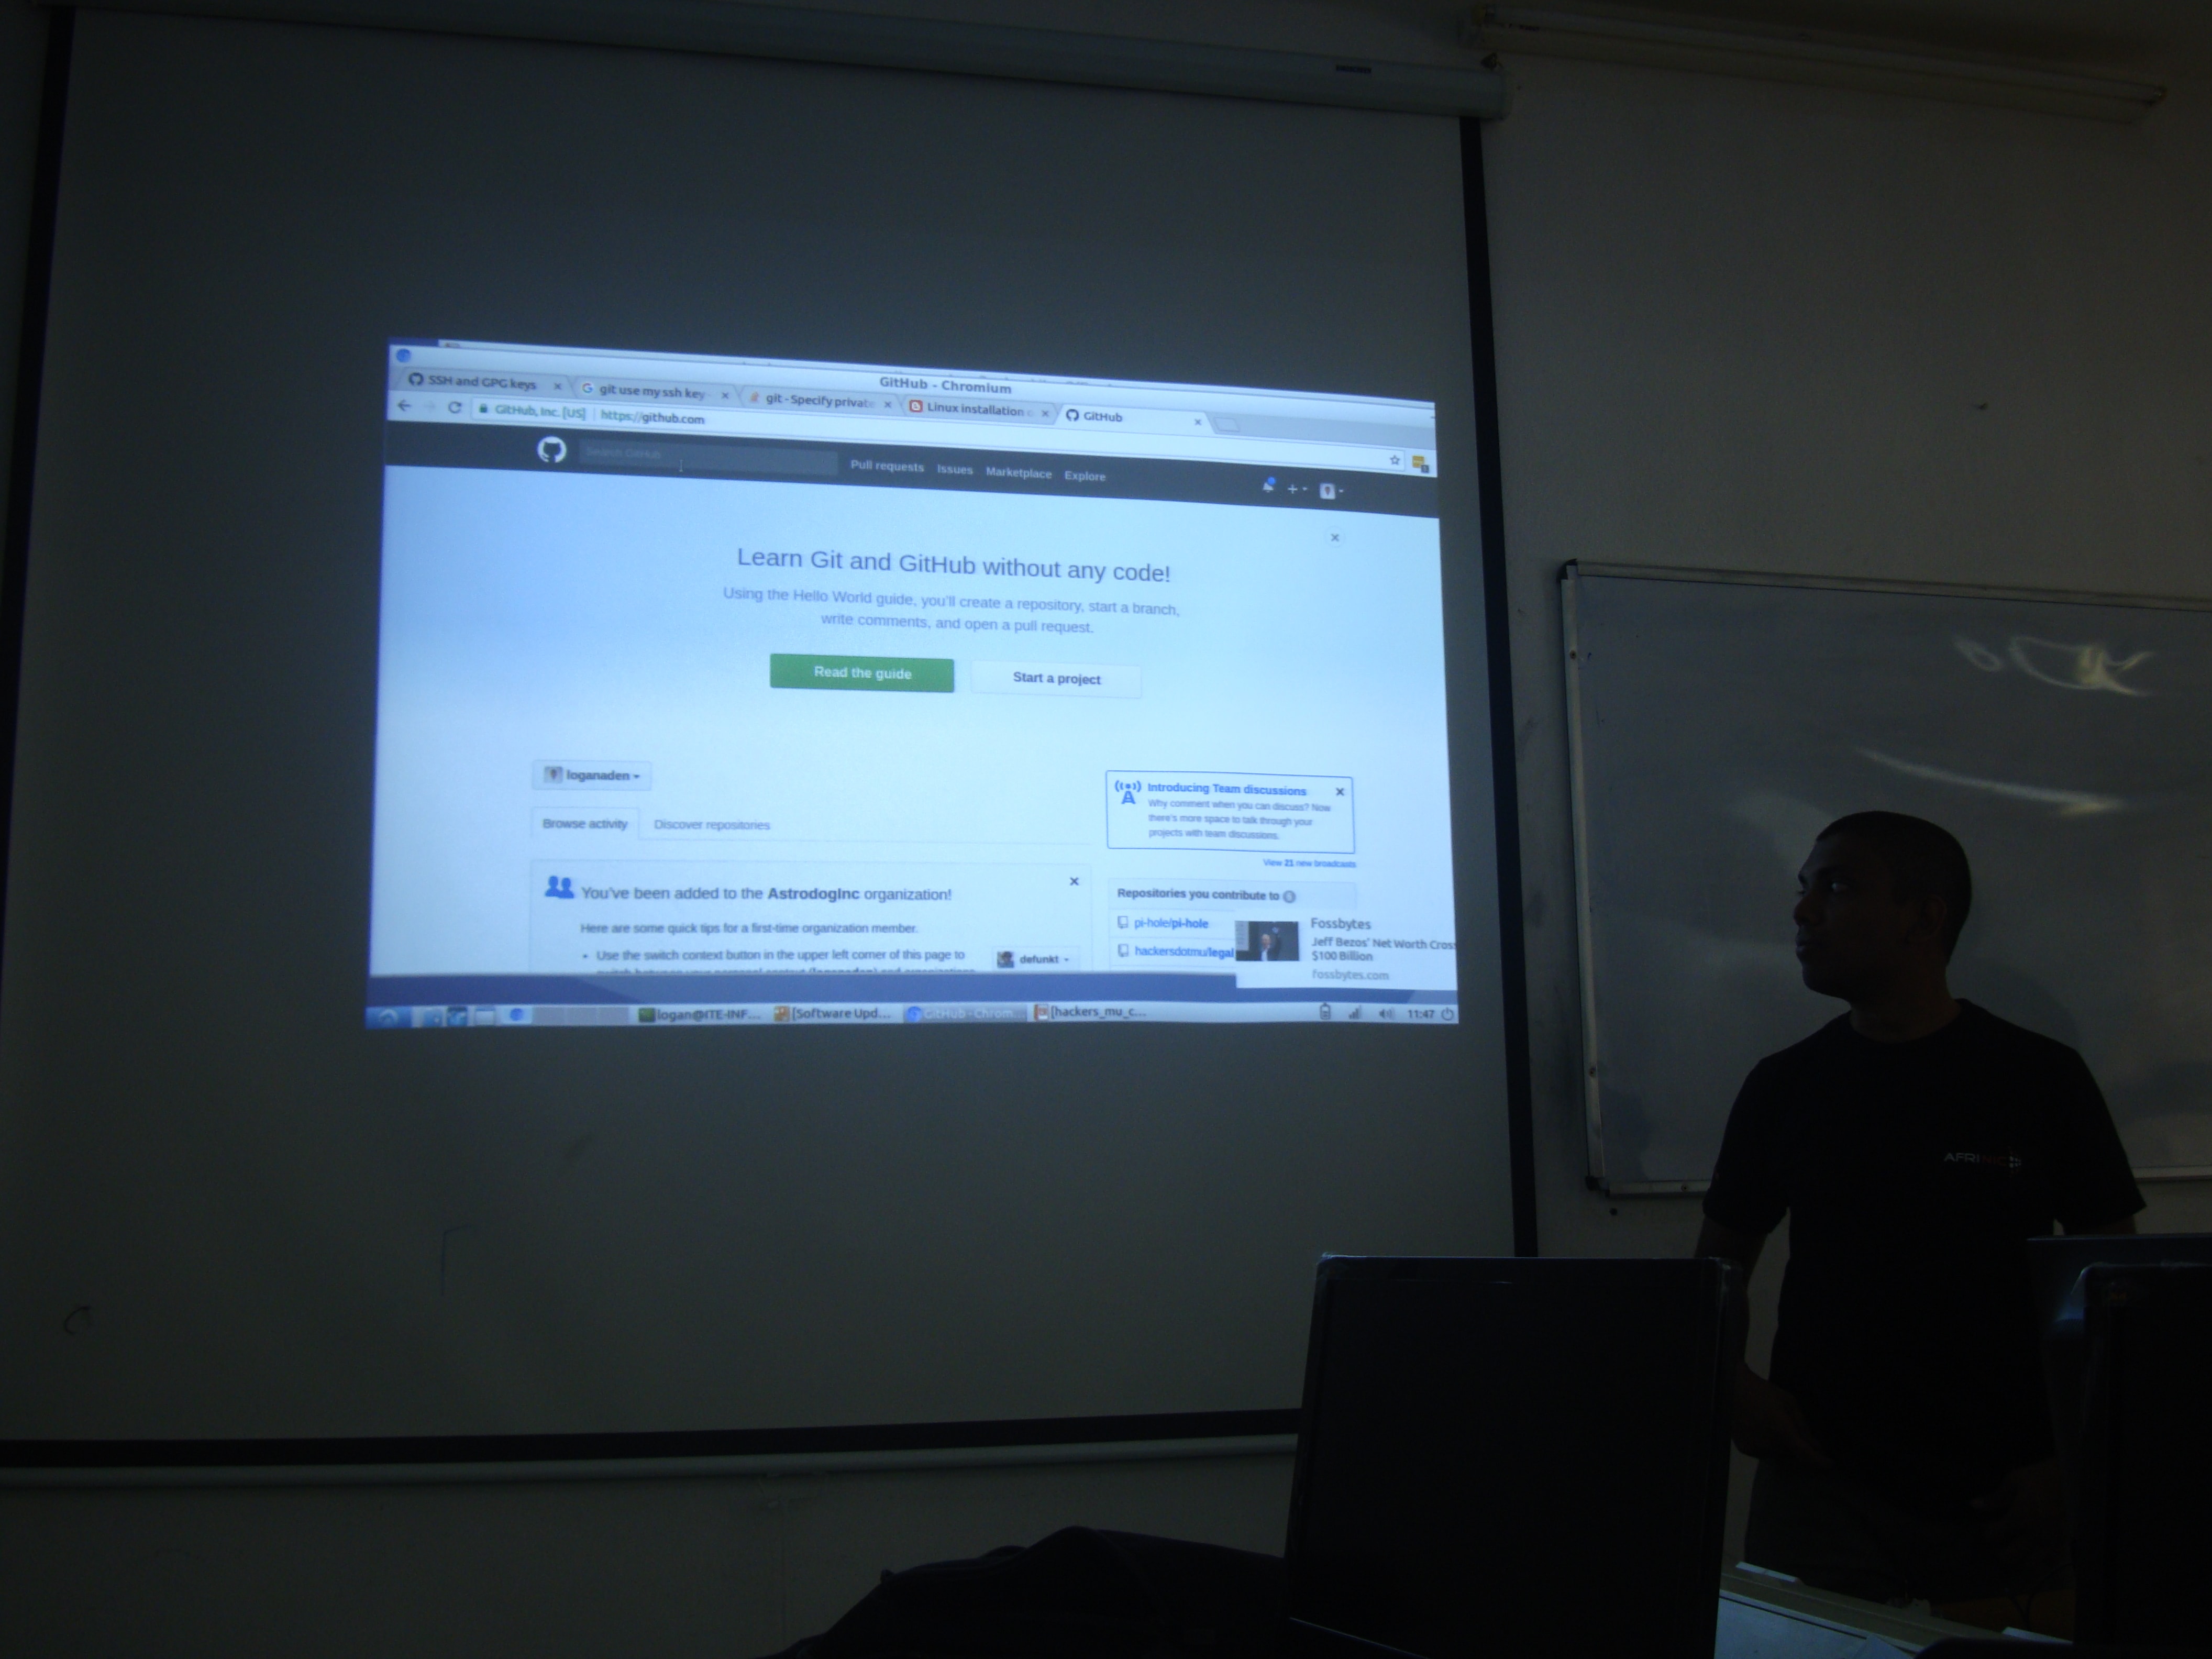
Securing GitHub accounts using SSH Keys
He then proceeded with a brief explanation on OpenSSH and how it is used as an authentication method with remote servers and services like GitHub and explained some of it's advantages such as not having to enter a password each time you are trying to login into a service or connecting to a remote server. On top of using SSH for authentication, he explained a bit about how it can be used to remotely run GUI applications. After doing a small demo about generating ssh keys, he helped students generate their own public and private keys which they would use to further enforce their GitHub account security.
The public key is used by servers and services with which you want to use ssh authentication. This public key, also known as an 'authorized key', will encrypt traffic between you and the services/servers if a corresponding private key is found on your machine.
The private key, which is also known as the 'identity key', is stored on your machine and as mentioned above, will establish a secure connection if a corresponding public key is found on the remote servers.
To demonstrate this process, Logan connected to a private webserver through SSH in verbose mode.
This is done using the -v argument, like this: ssh -v user@hostname/ip
Generating a key pair can be done by simply running: ssh-keygen or running it along with some arguments.
By default, the ssh keys generated are found in the .ssh directory. You can check for your keys by running ls ~/.ssh if you are on linux.
Once we generated our keys, Logan showed us how to use them with our GitHub accounts to add an extra layer of security. GitHub makes it pretty straight forward to add keys. You just need to copy your newly-generated public key and paste it into the textbox provided and give it a name.

One way to copy the key is to output it to your terminal display using the cat command, like this: cat ~/.ssh/id_rsa.pub and copy it directly from there.
After some of us had managed to set up SSH authentication on GitHub, Logan proceeded with the basics of uploading code using git and helped some students upload their assignments to Github.
Setting Up a SOCKS Proxy Using OpenSSH to securely route web traffic
Now that everyone was introduced to the concept of versioning using git and GitHub, it was time for part two of the session: Setting up a SOCKS proxy using OpenSSH.
As explained during the meetup, browsing the web on public networks, like the university public WIFI for instance, can be insecure or very restrictive. In this case you might consider using a VPN. However the ports used by your VPN software may be blocked by the public network firewall. One way to get around this is to use a SOCKS proxy.
Logan did a short demo on how to setup the SOCKS proxy using OpenSSH and configure Firefox to use it.
So here's how it's done:
First of all you need to have an OpenSSH Server. In my case i'm using a small VPS hosted on Digital Ocean's cloud.
Once your server has been setup and is ready to accept ssh connections, you can start the tunnel using this command:
ssh -D <port> <optional arguments> user@hostname/ip.
Example using port 7676:
ssh -D 7676 [email protected]
This is the basic command. For a list of arguments you can use when creating a SSH tunnel, check out this manual.
Note: If you want to use a privileged port i.e, any port below 1024, you need to start the tunnel as root using sudo
If you are having trouble connecting using a certain port, you could run a port scan or try out some of the commonly open ports reported on this list.
In case you are having trouble using SSH on port 22, you can add a new port directive to your ssh config. Open your SSH configuration file with sudo nano /etc/ssh/sshd_config. You should see something like this:
Package generated configuration file
See the sshd_config(5) manpage for details

#What ports, IPs and protocols we listen for
Port 22
#Use these options to restrict which interfaces/protocols sshd will bind to
#ListenAddress ::
#ListenAddress 0.0.0.0
Just add a new listening port on the next line after Port 22, as shown below:
Package generated configuration file
See the sshd_config(5) manpage for details

#What ports, IPs and protocols we listen for
Port 22
Port 25 <---- Added port 25
#Use these options to restrict which interfaces/protocols sshd will bind to
#ListenAddress ::
#ListenAddress 0.0.0.0
Then restart the SSH daemon using sudo service ssh restart. You should now be able to use SSH on port 25:
To avoid locking yourself out, its better to do it in a new terminal window
ssh -D 7676 [email protected] -p 25
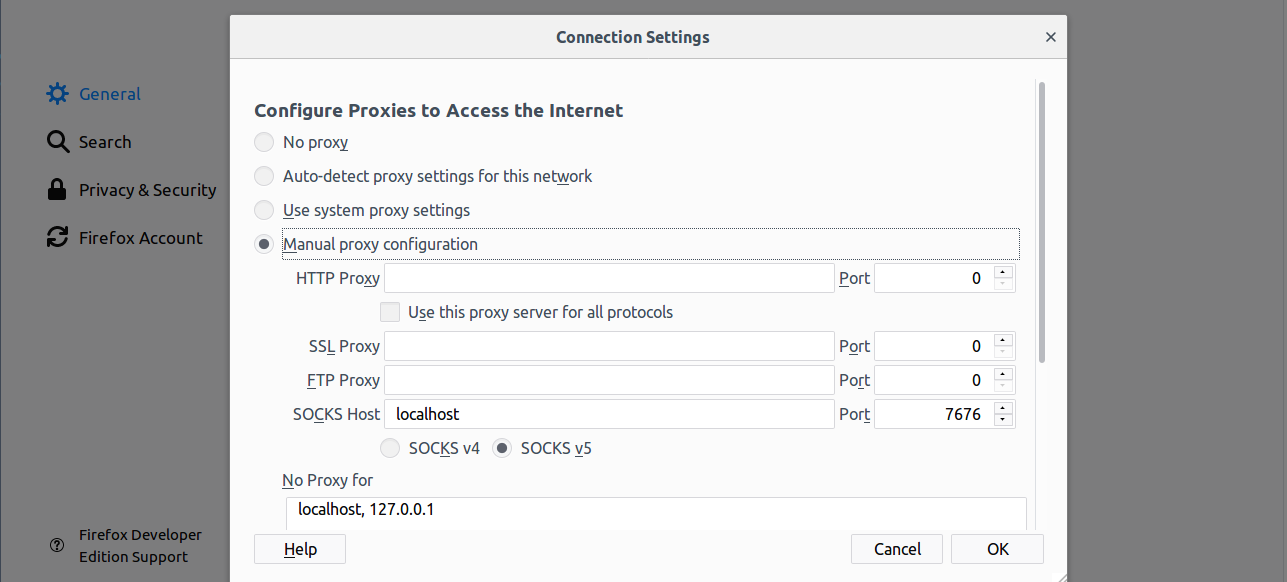
Once the tunnel is working, you need to configure Firefox to use the proxy. Go to your Firefox preferences and open the Network Proxy settings. In the SOCKS Host, specify your port, then click ok.
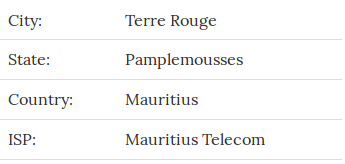
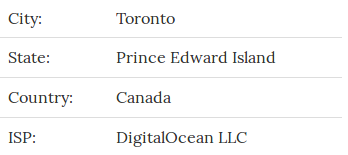
Now to test if your proxy is working, use an IP addres lookup service like ipfingerprints or whatismyip.
No Proxy
Using SOCKS Proxy
End of Meetup
To end the session, Jagveer Loky, Moderator of IT and Internet Users of Dodoland talked a bit about the newly-launched mailing list and how it could be beneficial to university students.
So that was it for the second IT and Internet Users of Dodoland community meetup. This was a pretty cool one. It gave us a some insights on OpenSSH and it's uses. There are definitely going to be more interesting topics to be discussed during the upcoming meetups so check out the the mailing list to stay tuned.
Presentation Slides
Slides
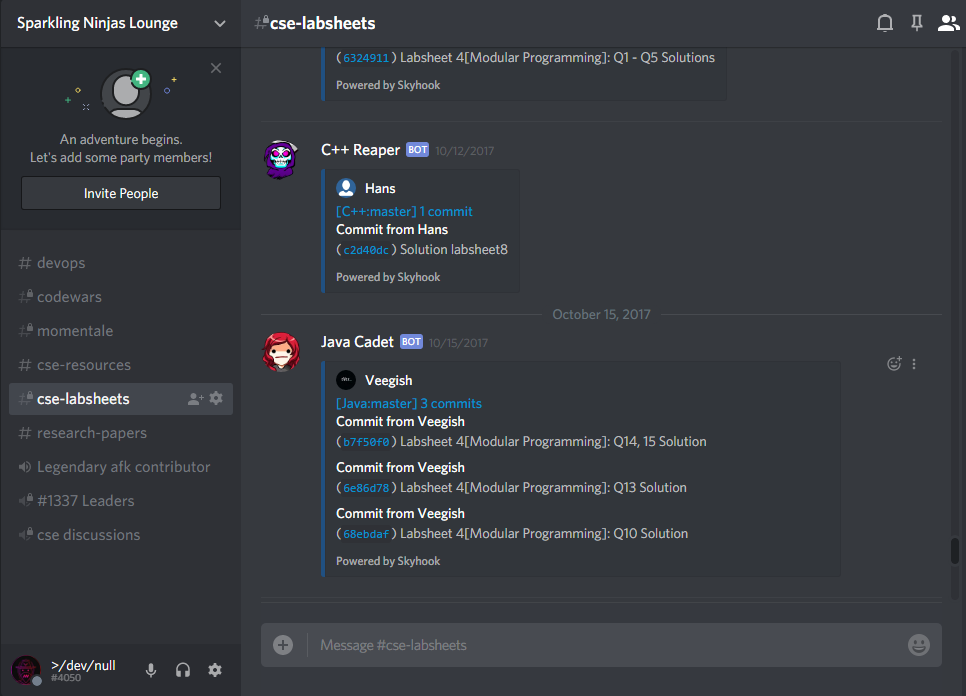
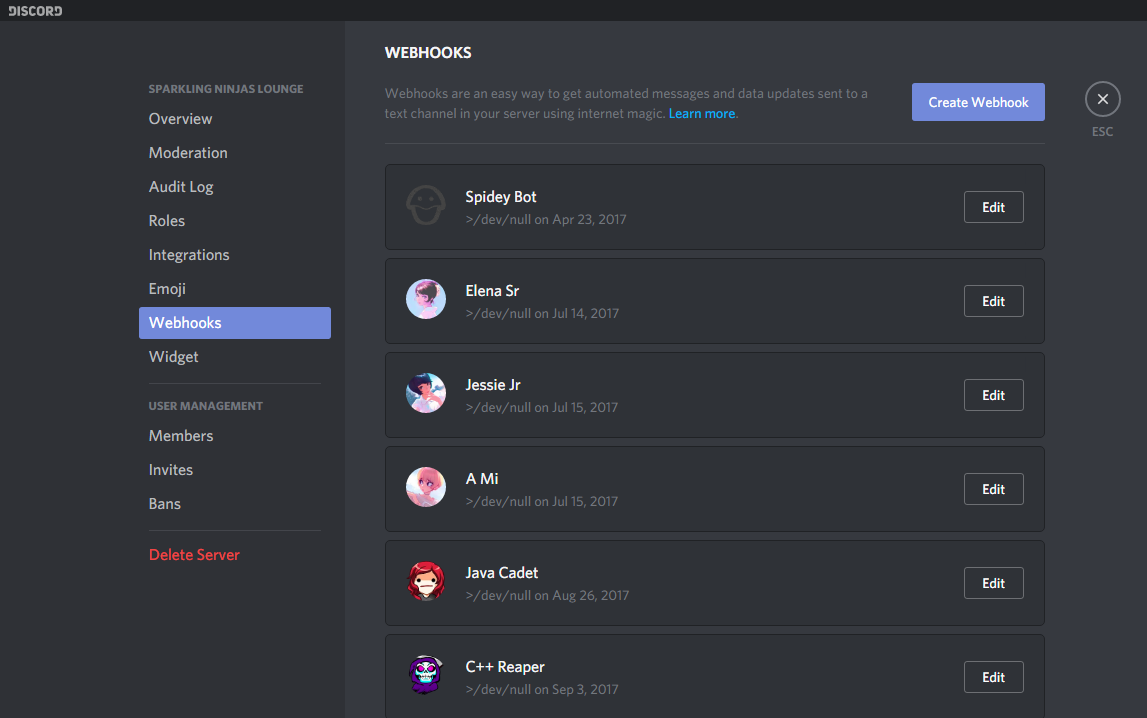
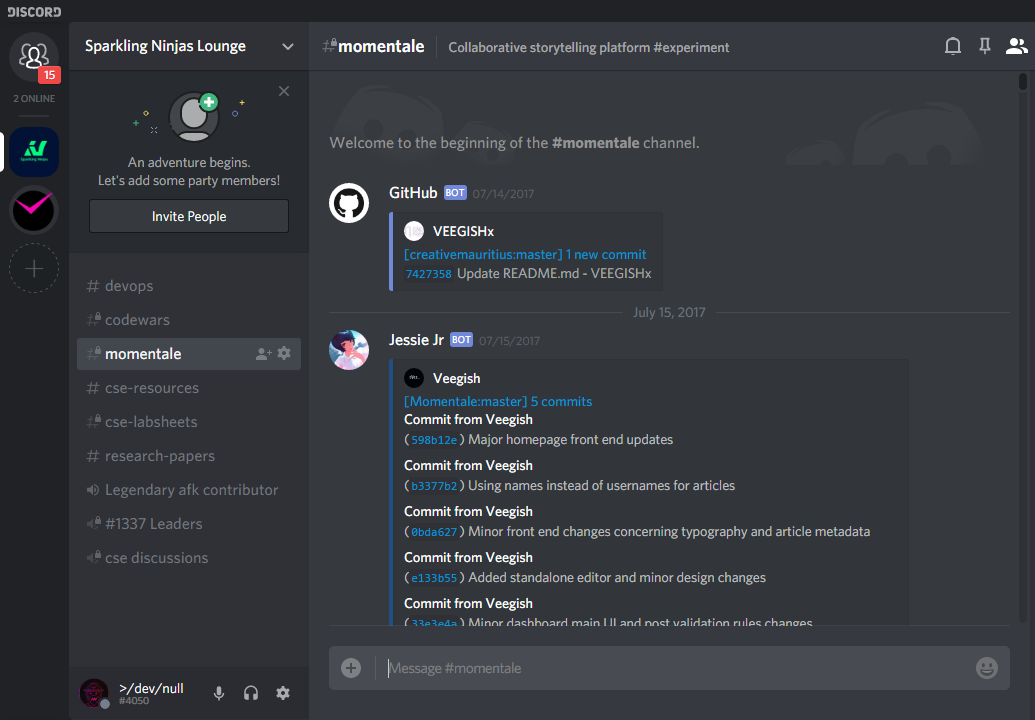
GitHub integration via webhooks
A great feature with platforms such as GitHub and Bitbucket is that they can be integrated into popular chat clients such as Slack or HipChat. If you are a student who happens to be a gamer(like me :p) as well, you have probably heard of Discord. Discord is a chat client tailored for gamers. One cool feature about Discord is that it supports webhooks. Webhooks are basically a way to deliver data to an external server when an action is performed. Discord support GitHub webhooks out of the box. So if you collaborate with teammates who happen to be gamers as well, you can easily use Discord to chat as well as collaborate on projects hosted on GitHub. Check out this tutorial to get started.