
Getting started with unit testing in java using JUnit


You have just finished working on a software for a client that is to be delivered in a few days and everything is working as they should, or so you thought. Fast forward to a week later, you start receiving complaints from your client about your software which has started to fail under certain circumstances. Anxiety starts to kick in and you are already regretting that decision you made to skip writing tests as an excuse to speed up the development process.
Well this is just an imaginary scenario to illustrate that things do not always go as planned. In the real world, assuring software quality through tests is an integral part of the software development process. There are a range of tests that can be carried out at different levels but this article will focus solely on unit testing in java using the JUnit test framework. But before we start, lets look at what we are dealing with here.
What is Unit Testing
Unit Testing, as the name implies, are tests written for testing small snippets of code, like function/procedure blocks or classes in isolation. They have an important role in the Agile development proccess and are very low-level as they deal with components close to the source of an application.
Have you ever come across a small piece of code that looked like this:
import org.junit.Test;

import static junit.framework.TestCase.fail;
import static org.junit.Assert.*;

public class Tests {
  @Test
  public void Test1() {
    assertEquals("42 -9", Kata.HighAndLow("8 3 -5 42 -1 0 0 -9 4 7 4 -4"));
  }
}
This snippet of code was taken from codewars.com. As you can see, it includes a class called Tests within which is written a small function called Test1. Notice the method assertEquals inside the function. This method is part of the JUnit API, which will be covered below. What this method is doing is simply testing that TRUE is returned when the HighAndLow function from the Kata class is presented with a string of numbers, having numbers 42 as the highest number and -9 as the lowest number. Here's the code for the function HighAndLow:
import java.util.Arrays;

public class Kata {
    public static String HighAndLow(String numbers) {

        int min = Arrays.stream(numbers.split(" "))
                        .mapToInt(i -> Integer.parseInt(i))
                        .min()
                        .getAsInt();

        int max = Arrays.stream(numbers.split(" "))
                        .mapToInt(i -> Integer.parseInt(i))
                        .max()
                        .getAsInt();

        return String.format("%d %d", max, min);
    }
}
Unit Testing using JUnit
JUnit is a popular open source framework for writing unit tests in java. It provides a set of annotations which we can use to specify how we want our tests to be carried out. You can find a list of them in JUnit's official documentation(JUnit 5).
Let's get started by writing a small Calories Calculator program which will output the amount of calories a vegetable contains to a text file. To keep things well structured we will define our main class and our tests in two separate packages.
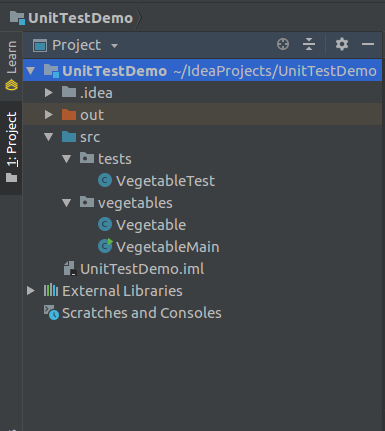
We are going to test the four methods of our Vegetable class, which are:
getCalories()
getPercentProtein()
getPercentFat()
getPercentCarbo()
Here's the full code:
Vegetable.java
package vegetables;

public class Vegetable {
    String veg_name;
    double veg_protein_cal, veg_fat_cal, veg_carbo_cal;

    public Vegetable() {
        this.veg_name = "";
        this.veg_protein_cal = 0.0;
        this.veg_fat_cal = 0.1;
        this.veg_carbo_cal = 0.0;
    }

    public Vegetable(String veg_name, double veg_protein_cal, double veg_fat_cal, double veg_carbo_cal) {
        this.veg_name = veg_name;
        this.veg_protein_cal = veg_protein_cal;
        this.veg_fat_cal = veg_fat_cal;
        this.veg_carbo_cal = veg_carbo_cal;
    }

    public double getCalories() {
        return this.veg_protein_cal + this.veg_fat_cal + this.veg_carbo_cal;
    }

    public double getPercentProtein() {
        return getCalories() / 100;
    }

    public double getPercentFat() {
        return (veg_fat_cal / 100) * getCalories();
    }

    public double getPercentCarbo() {
        return  ((veg_carbo_cal / 100) * getCalories() * 10000d) / 10000d;
    }

    public String toSring() {
        return (veg_name + ", " + getCalories() + "%, " + getPercentProtein() + "% " + getPercentFat() + "%, " + getPercentCarbo() + "%");
    }
}
VegetableMain.java
package vegetables;

import java.io.FileNotFoundException;
import java.io.FileOutputStream;
import java.io.PrintWriter;
import java.util.Scanner;

public class VegetableMain {
    public static Vegetable inputVegetable() {
        Scanner input = new Scanner(System.in);
        System.out.print("Enter vegetable name: ");
        String name = input.next();

        System.out.print("Enter amount of protein: ");
        double protein = input.nextDouble();

        System.out.print("Enter amount of fat: ");
        double fat = input.nextDouble();

        System.out.print("Enter amount of carbohydrates: ");
        double carbohydrates = input.nextDouble();

        Vegetable vegetableDetails = new Vegetable(name, protein, fat, carbohydrates);
        return vegetableDetails;
    }

    public static void printVegetables(Vegetable[] vegArr) {
        PrintWriter stdOut = null;
        try {
            stdOut = new PrintWriter(new FileOutputStream("VegCalories.txt"));
        } catch (FileNotFoundException e) {
            e.printStackTrace();
            System.out.print("Error! File VegCalories could not be created. Data not saved.");
        }

        stdOut.print("Vegetable" + "\t" + "\t" + "\t" + "\t");
        stdOut.println("Nutrition Info");
        stdOut.println("------------------------------------------------");

        for (int i = 0; i < vegArr.length; i ++) {
            stdOut.println(vegArr[i].veg_name);
            stdOut.print("% Protein: " + "\t" + "\t" + "\t" + "\t");
            stdOut.println(vegArr[i].getPercentProtein());
            stdOut.print("% Fat: " + "\t" + "\t" + "\t" + "\t" + "\t");
            stdOut.println(vegArr[i].getPercentFat());
            stdOut.print("% Carbohydrates: " + "\t" + "\t");
            stdOut.println(vegArr[i].getPercentCarbo());
            stdOut.print("Total Calories: " + "\t" + "\t");
            stdOut.println(vegArr[i].getCalories());
            stdOut.println("------------------------------------------------");
        }
        stdOut.close();
    }

    public static void main(String[] args) {
        Scanner input = new Scanner(System.in);
        System.out.print("Enter number of vegetables: ");
        int num = input.nextInt();
        Vegetable[] vegArr = new Vegetable[num];
        for (int i = 0; i < num; i++) {
            vegArr[i] = inputVegetable();

        }
        printVegetables(vegArr);
    }
}
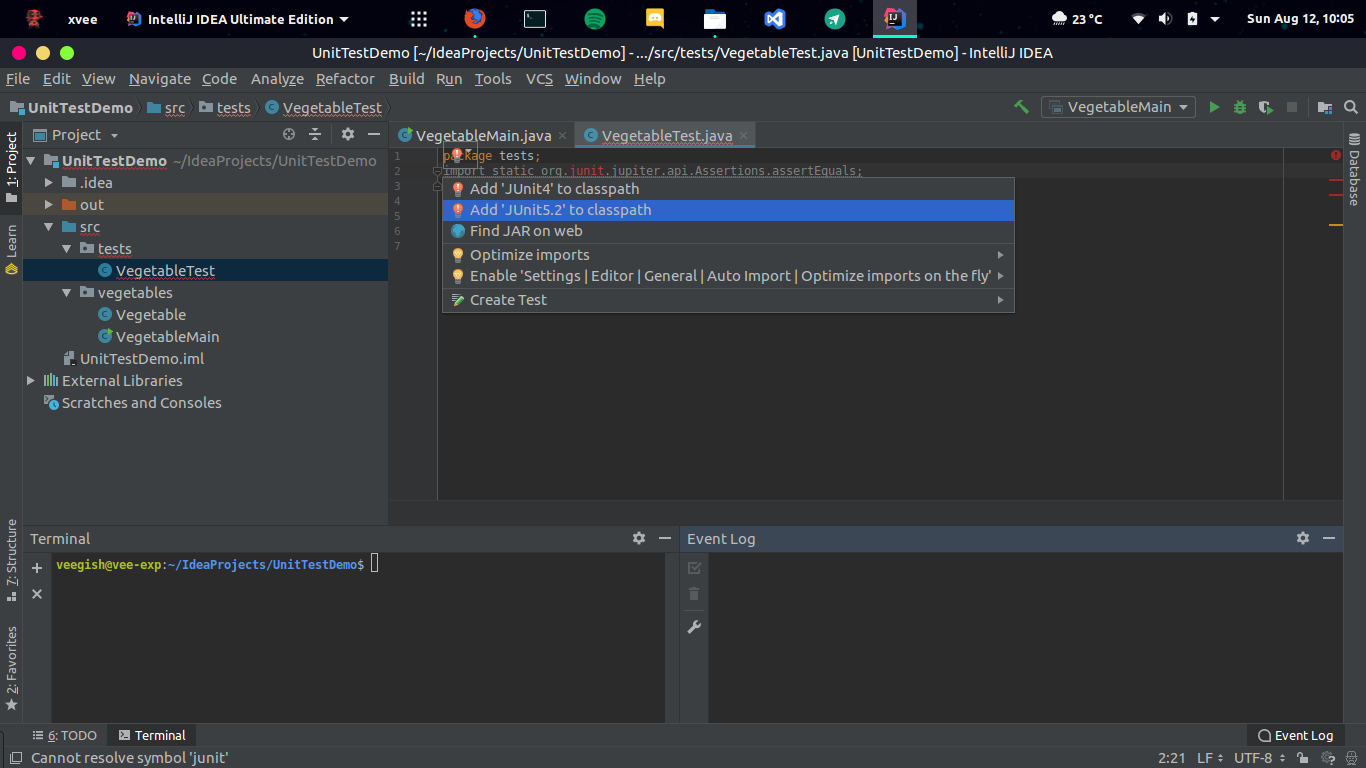
Now that out main program has been written it's time to write the unit tests to see if our methods/classes are working as they should. We start by importing the JUnit framework into our VegetableTest.java class like this:
import static org.junit.jupiter.api.Assertions.assertEquals;
import org.junit.jupiter.api.Test;
In case JUnit doesn't come bundled with your IDE, you'll have to download it from the Maven repo.
 [IntelliJ IDEA]
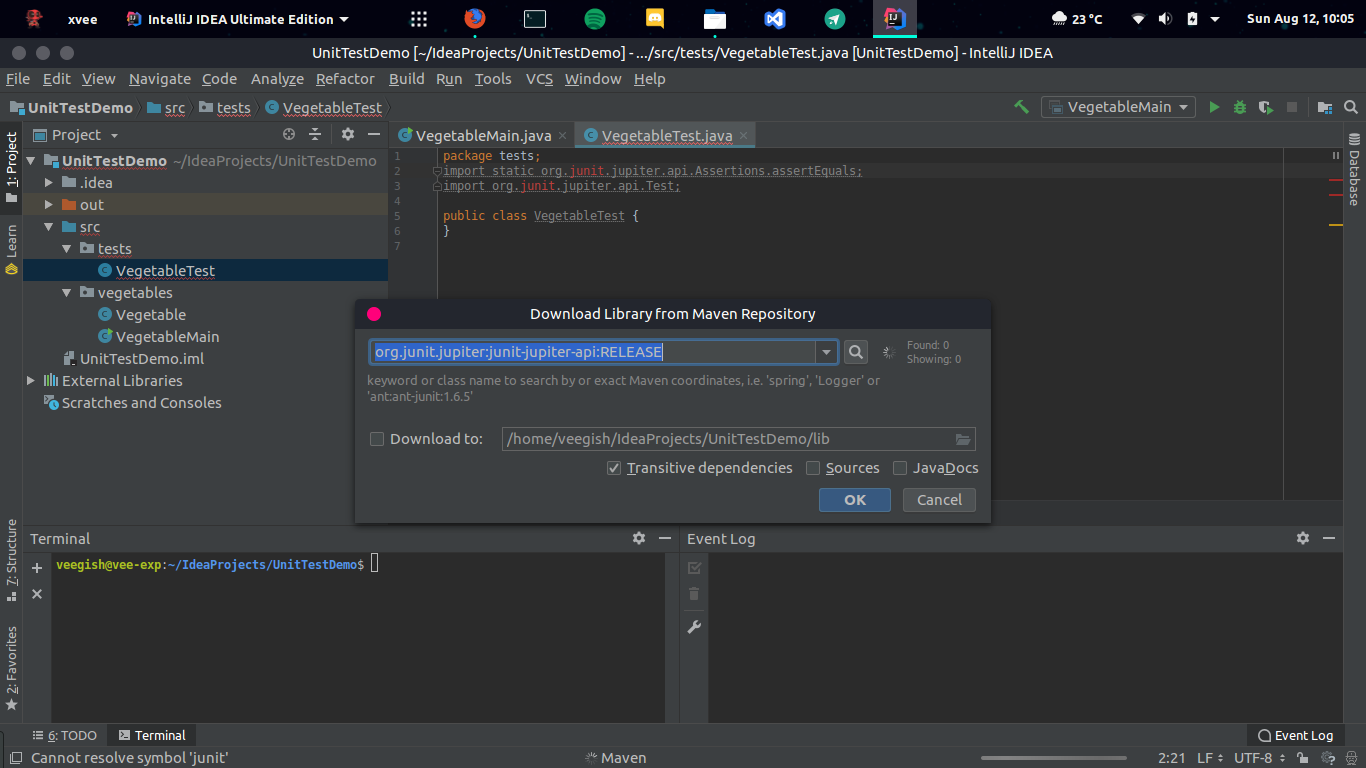 [IntelliJ IDEA]
Optionally you can also import DisplayNames from the API to assign custom names to your tests.
import org.junit.jupiter.api.DisplayName;
Once JUnit has been loaded we can finally start writing our tests.
VegetableTest.java
@DisplayName("Vegetable Class Tests")
public class VegetableTest {
    // Write Tests here
}
Lets start by creating a VegetableTestClass which will reference our main Vegetable class
@DisplayName("Vegetable Class Tests")
public class VegetableTest {
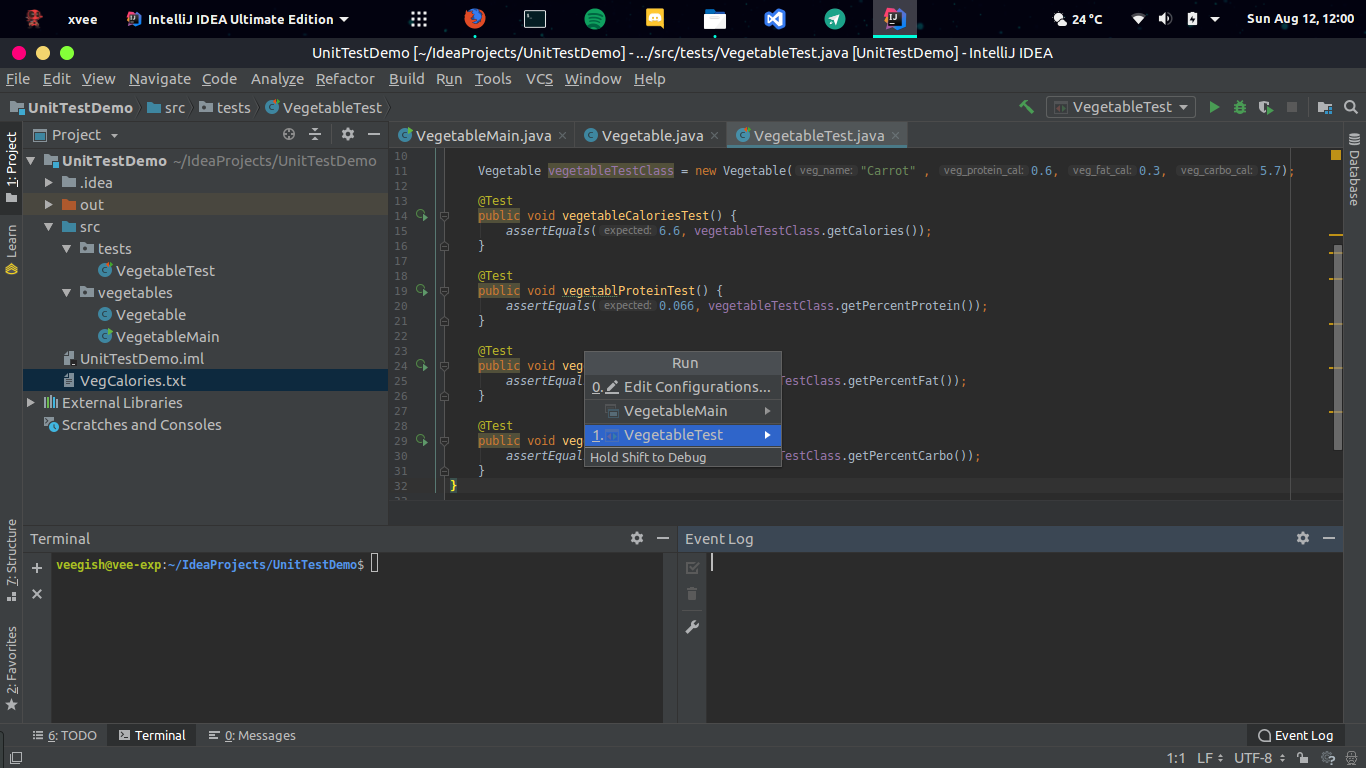
Vegetable vegetableTestClass = new Vegetable("Carrot" , 0.6, 0.3, 5.7);
}
After our class has been declared and initialized we are going to write a test for each method. To declare a basic test case, we use the @Test annotation. Since we want to test that the Vegetable class methods are returning expected values, we use the assertEquals method which was explained above. It takes two parameters; the second parameter is the method we are testing and the first parameter is the value we are expecting from that method.
    @Test
    public void vegetableCaloriesTest() {
        assertEquals(6.6, vegetableTestClass.getCalories());
    }
    @Test
    public void vegetablProteinTest() {
        assertEquals(0.066, vegetableTestClass.getPercentProtein());
    }
    @Test
    public void vegetableFatTest() {
        assertEquals(0.0198, vegetableTestClass.getPercentFat());
    }
    @Test
    public void vegetableCarboTest() {
        assertEquals(0.3762, vegetableTestClass.getPercentCarbo());
    }
Now that we have written our tests we need to run them. Different IDEs have different ways of running these tests. You can read about how to run them here
Here are the results of the tests:
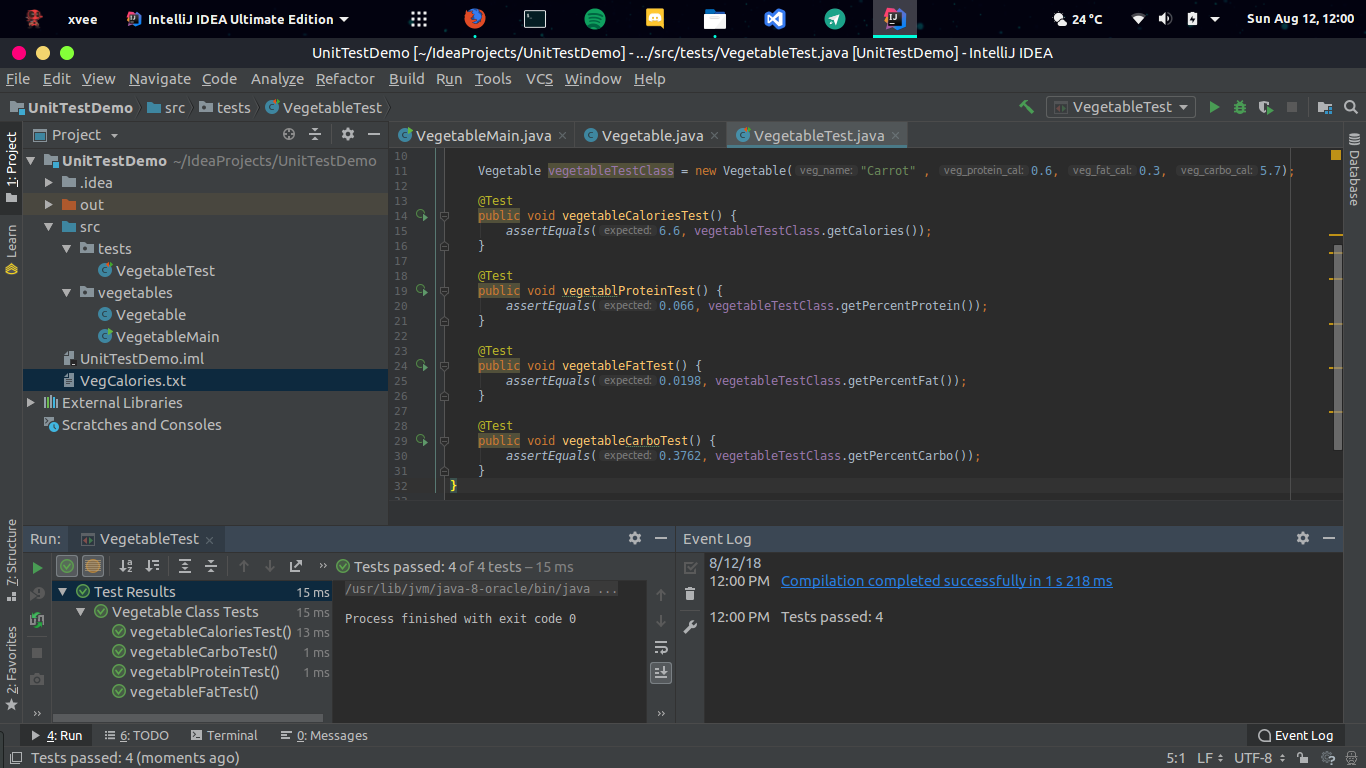
As you can see they are all successful. Now let's see what happens if we change the expected value for vegetableFatTest from 0.198 to 0.197
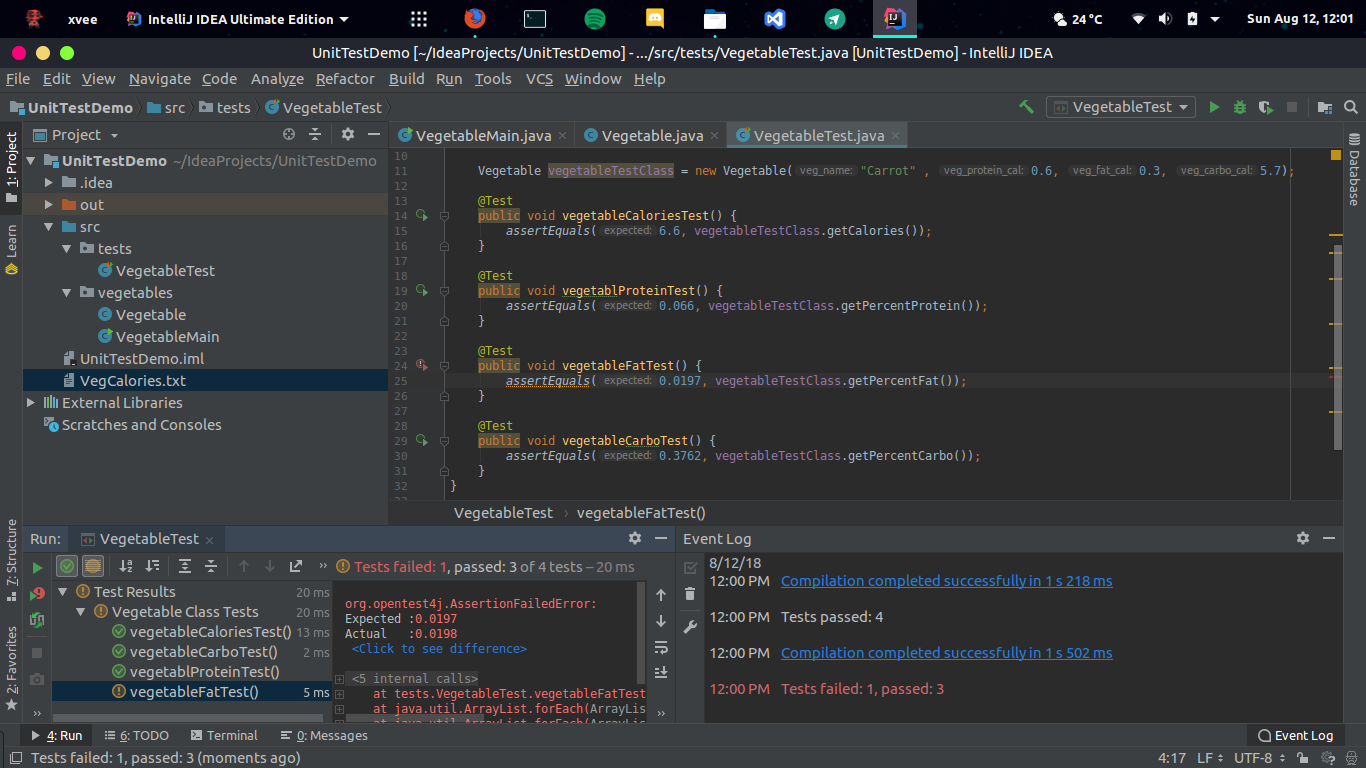
Eventually the vegetableFatTest fails and you can see why in the error logs.
This is a very simple example. There are many more concepts involved in writing unit tests, like object mocking for instance. Besides, in this example we wrote tests for every methods of our class. A Real-world software may have a few million lines of code. You can't write tests for testing every functionality. This is why it's important to identify what you want to test first, focus on important pieces of code rather than trival ones.